Resize Image
Resize images to exact pixels, scale by percentage, or hit a target file size in KB. 100% private browser-only processing, no upload. JPEG, PNG, WebP.
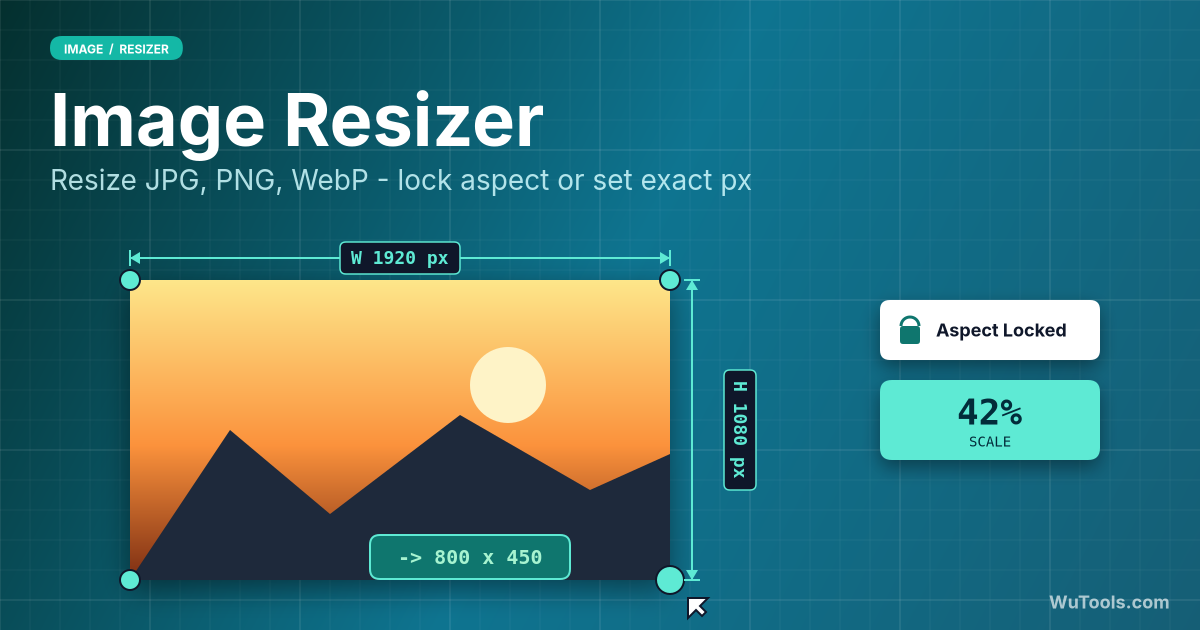
About Image Resizing
Resize images to exact pixels or scale by percentage, then export as JPEG, PNG, or WebP. A built-in target file-size mode automatically fits your image under a chosen KB limit, ideal for upload caps. All processing runs 100% in your browser — your images are never uploaded to any server.
How do I resize an image without losing quality?
Quality loss during resizing comes from two sources: pixel resampling (resizing itself) and re-encoding (saving to a lossy format like JPEG). To minimize both, downscale rather than upscale — adding pixels is interpolation guessing while removing them only discards information — and save the result to a lossless format like PNG or WebP-lossless when the source is a graphic, screenshot, or text. For photos, use JPEG at quality 85-92 or WebP at 80-90, which look visually identical to the original at typical screen sizes. Avoid resizing the same file repeatedly: each round of lossy re-encoding compounds artifacts. If you need multiple output sizes, always derive each one from the original master, not from a previously resized copy.
What is the difference between resizing and resampling an image?
Resizing strictly changes the displayed dimensions (the width and height in pixels), while resampling is the underlying algorithm that decides what color value each new pixel takes. When you reduce a 4000-pixel-wide image to 1000 pixels, the resampler must combine 16 source pixels into each output pixel — different algorithms produce different results. Nearest-neighbor is fastest and preserves hard edges (good for pixel art and QR codes); bilinear is a smooth average (acceptable for thumbnails); bicubic uses a 4x4 neighborhood for sharper results (default in Photoshop); Lanczos uses a sinc kernel for the sharpest downscale and is the standard for production image pipelines. Most browsers default to bilinear or bicubic; high-quality tools let you pick Lanczos for archival output.
Should I keep the aspect ratio locked when resizing?
In nearly all cases, yes — distorting an image stretches faces, circles, and text into unflattering ellipses. Lock the aspect ratio by editing only one dimension (width or height) and let the other follow proportionally. The only times you should unlock are: producing a specific banner size where you will crop the result anyway, applying a deliberate stylistic squash, or correcting an image that was incorrectly stretched at capture. If the target ratio differs from the source (for example a 16:9 source going to a 1:1 Instagram tile), use cropping or padding instead of stretching. Most resize tools, including this one, default to locked-ratio for safety; the unlock toggle should be a conscious choice.
What DPI or PPI should I use for web images versus print?
For screen use, DPI is largely irrelevant — browsers and apps render images by their pixel dimensions, not their embedded DPI metadata. A 1000x1000 image at 72 DPI and the same image at 300 DPI look identical in a browser. DPI only matters for print: the standard is 300 PPI for magazines and photo prints, 150 PPI for newspapers, and 600+ PPI for fine line art. To compute the pixel dimensions you need for a print, multiply inches by target PPI: a 4x6 inch photo at 300 PPI needs 1200x1800 pixels. For Retina/HiDPI displays, export images at 2x the CSS pixel dimensions (so a 400px wide hero needs an 800px source) to stay sharp on modern phones and laptops.
How does EXIF metadata behave when I resize an image?
EXIF (Exchangeable Image File Format) metadata includes camera model, exposure settings, GPS coordinates, capture timestamp, and orientation. Most resizers preserve EXIF by default, which is convenient for photographers but a privacy risk if you publish the image — GPS tags can leak your home address. The orientation tag is particularly tricky: a portrait phone photo is often stored as a landscape pixel grid with an orientation flag saying "rotate 90 degrees on display." Poorly-written resizers respect the pixel grid but discard the flag, producing a sideways result. Strip EXIF when publishing publicly using a metadata-clean export option, or rotate-then-strip so the visible orientation is baked in. ICC color profiles are separate metadata and should usually be preserved to keep colors consistent.
How do I resize an image to a specific file size, such as under 200 KB?
Tick the 'Target file size' option in the Quality Settings panel, enter your maximum size in KB (for example 200), and choose JPEG or WebP as the target format. When you press Resize, the tool runs an automatic binary search across the quality scale and lands on the highest quality that still keeps the file under your limit — no manual trial-and-error. This is built for hard upload caps: government and visa photo portals, job-application systems, email attachment limits, and marketplace listing rules almost always specify a maximum KB rather than a quality percentage. If even the lowest quality cannot reach your target, the tool tells you so and suggests reducing the pixel dimensions first, then retrying. WebP usually reaches a smaller size than JPEG at the same visual quality, so try it when the destination accepts WebP.
Are my images uploaded to a server?
No. Every step — reading the file, resizing on an HTML5 canvas, compressing to your target size, and generating the download — happens entirely inside your own browser using client-side JavaScript. Your images are never transmitted to WuTools or any third party, nothing is stored, and the tool keeps working even if you go offline after the page loads. That makes it safe for confidential material such as ID photos, medical scans, contracts, screenshots of internal dashboards, and unreleased product images. Because there is no upload or download round-trip to a server, processing is also instant, with no queue and no file-retention policy to worry about.
What resampling algorithm should I use for upscaling versus downscaling?
Downscaling is information loss; upscaling is information invention. For downscaling, Lanczos-3 (a windowed sinc filter) is the gold standard and is what production pipelines like FFmpeg and ImageMagick default to for high quality. Bicubic-sharper is a close second and is faster. For upscaling, classical algorithms (bilinear, bicubic, Lanczos) produce soft, slightly blurry results because they cannot recreate detail that was never sampled. Modern AI super-resolution models (ESRGAN, Real-ESRGAN, SwinIR) hallucinate plausible high-frequency detail by learning from millions of image pairs, producing dramatically sharper upscales on faces, text, and textures. For 2x and 4x upscaling of photos, AI models are now the default choice in tools like Topaz Gigapixel and the Photoshop Super Resolution feature. For pixel art, use nearest-neighbor or specialized algorithms like hqx and xBR.
- Image Editor
- Batch Image Processor
- AI Background Remover
- AI Image Upscaler
- AI Object Remover
- AVIF to PNG/JPG
- Add Text to Image
- Add Watermark to Image
- Adjust Brightness & Contrast
- Background Replacer
- Barcode Generator
- Blur Image
- Collage Maker
- Compress Image
- Convert Image Format
- Crop Image
- Dominant color extractor
- Flip Image
- GIF Compressor
- GIF Maker
- GIF Splitter
- HEIC to JPG
- Image Annotator
- Image Filters
- Image Frame Border Maker
- Image Info
- Image pixelator
- Image to ASCII Art
- Image to Sketch
- Image to Text
- Meme Generator
- Merge Images
- PNG to SVG
- Photo to Anime
- QR Code Generator
- QR code decoder
- Resize Image
- Rotate Image
- SVG to PNG
- Saturation & Hue
- Sharpen Image
- WebP to PNG/JPG
- Fake TikTok

- Fake Instagram
- Fake Tweet
- Fake WhatsApp
- Fake iMessage
- Instagram Splitter

- OG Image Generator
- AI Depth Estimator

- AI Object Detector
- AI Pose Estimator